There are a number of options that allow you to run PC software on a Mac, some costing hundreds of dollars. Here are three options for installing Traffic Travis on your Mac that won't break the bank balance...
Virtualbox.org is one of the best virtual machines for Mac, and it's free. It is simple to install and has a reasonably small footprint (application size) but requires that you have a valid license for Windows if this is what you wish to install. You will also need the Windows installer disk to install from - there are sites that you can download a Windows disk image specifically for VirtualBox, but this isn't recommended.
Once you have Windows installed into your virtual machine, there is some configuration necessary which is well outlined in the help section on the website. After that, it runs exactly as a normal PC would - just inside a window on your Mac - or full screen if you wish.
You can then download Traffic Travis and install it as you would normally on a PC.
This option also requires that you have a valid license for Windows or have an installer disk. You can purchase Parallels Desktop for Mac here.
Once you have Parallels Desktop for Mac installed, the steps to installing Traffic Travis are quite simple. To install Windows on Parallels Desktop for Mac:
Step 1. Purchase Windows. Please note that Parallels Desktop for Mac does not include Microsoft Windows. If you do not already have a Windows installation disc or .iso disk image, you can purchase Windows on a DVD disc from many retail stores that sell software.
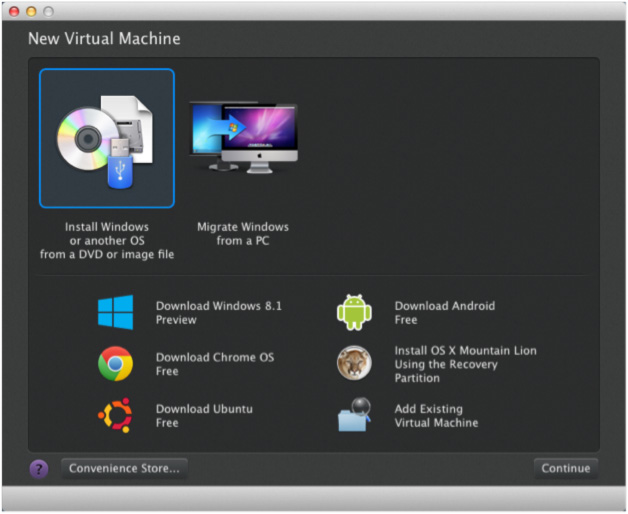
Step 2. Create a New Virtual Machine. Open Parallels Desktop in the Applications folder and click File > New and then click "Install Windows or another OS from DVD or image file," then click Continue.
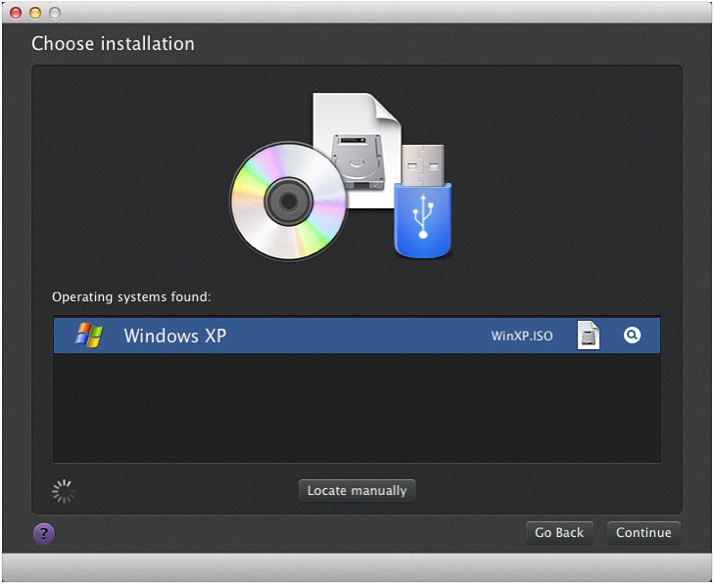
Step 3. Select the installation media. Parallels Wizard will automatically detect the installation media you want to use to install Windows.
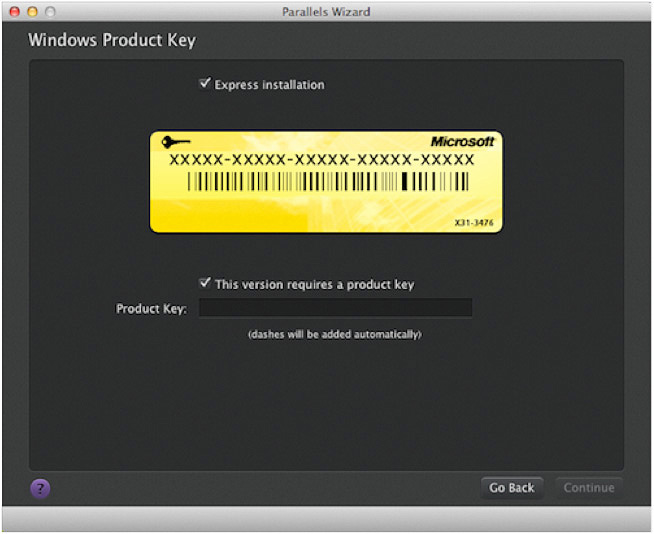
Step 4. In the Windows Product Key window, enter your Windows product key and leave "Express Installation" selected. Click Continue to proceed.
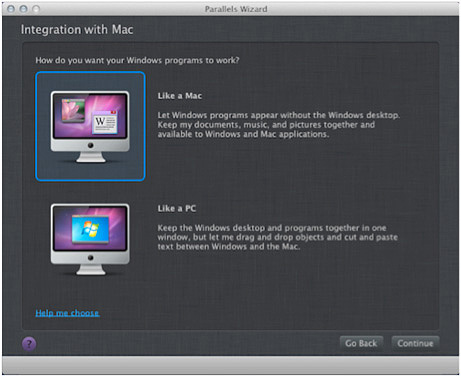
Step 5. Select how you want to use Windows. We suggest that you use the option "Like a PC" since Traffic Travis is designed to run on Windows.
Step 6. Specify a name and location.
Step 7. Begin the installation. Once Windows is installed, you can start it by clicking the power button in the Parallels Virtual Machines list.
Step 8. Install Traffic Travis. Once Windows is completely set up and running in Parallels, you should be able to run and install Traffic Travis.

This option requires that you install a copy of VMware Fusion. You can download a free-trial version of VMware Fusion here. Before creating a virtual machine, you must also obtain a copy of any Windows operating system, which can be in the form of an installation disk or disk image file, as well as the necessary product keys for installation. VMware Fusion does not come with any operating systems to install in virtual machines you create.
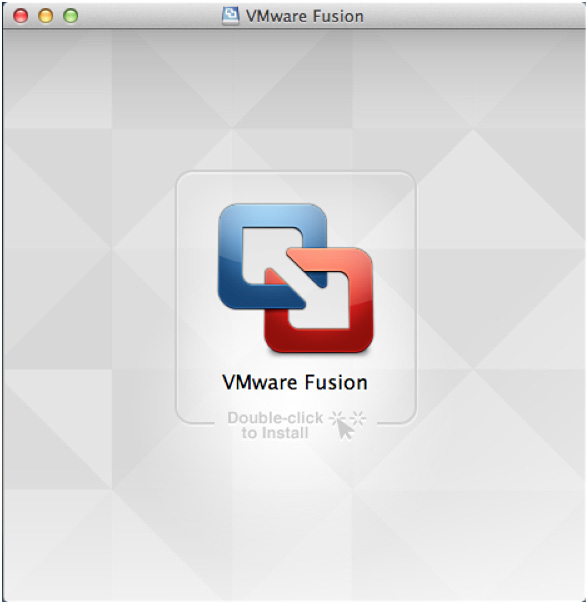
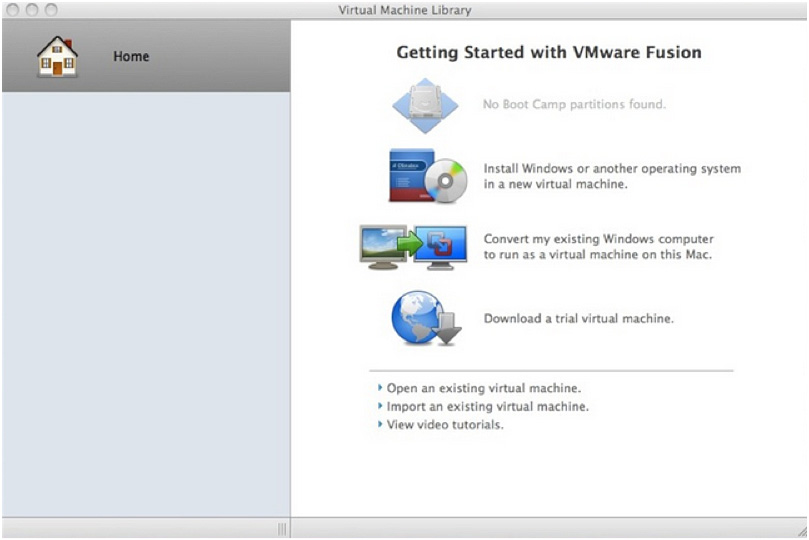
Step 1. Start the VMware Fusion application by double-clicking its icon in the Applications folder. You should see the window shown below.
Step 2. Choose "Install Windows or another operating system in a new virtual machine."
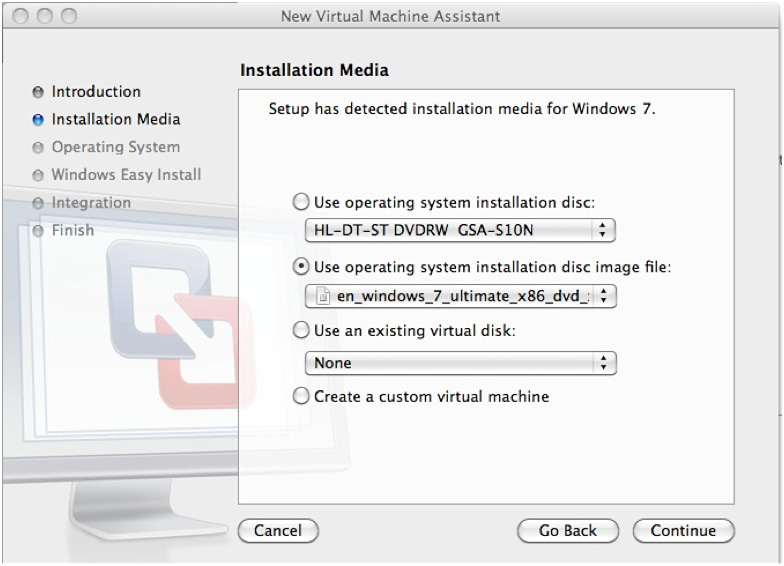
Step 3. You will now be asked to insert your Windows disc. If you choose to install Windows using an installation disk, select the option "Use operating system installation disk." If you would rather install Windows using a disk image file (.iso/.cdr/.dmg file), select "Use operating system installation disc image file" instead.
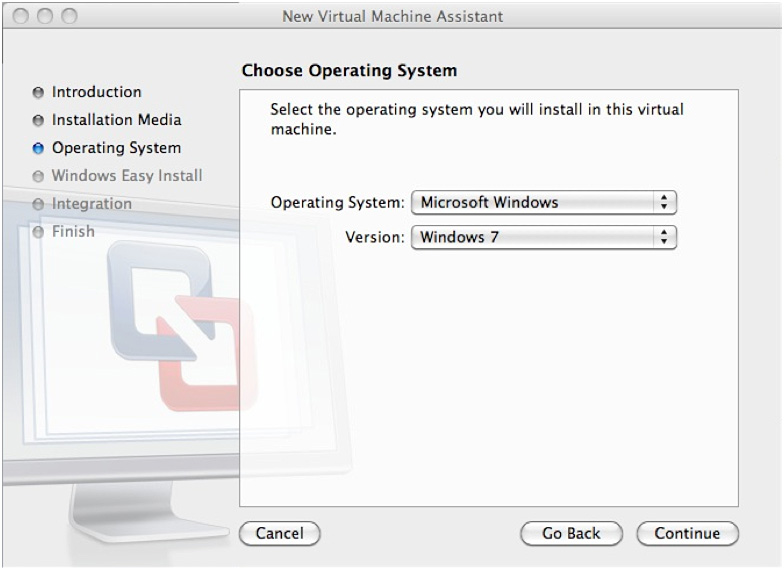
Step 4. In the next screen that appears, choose the specific Windows operating system you would like to install and then press continue.
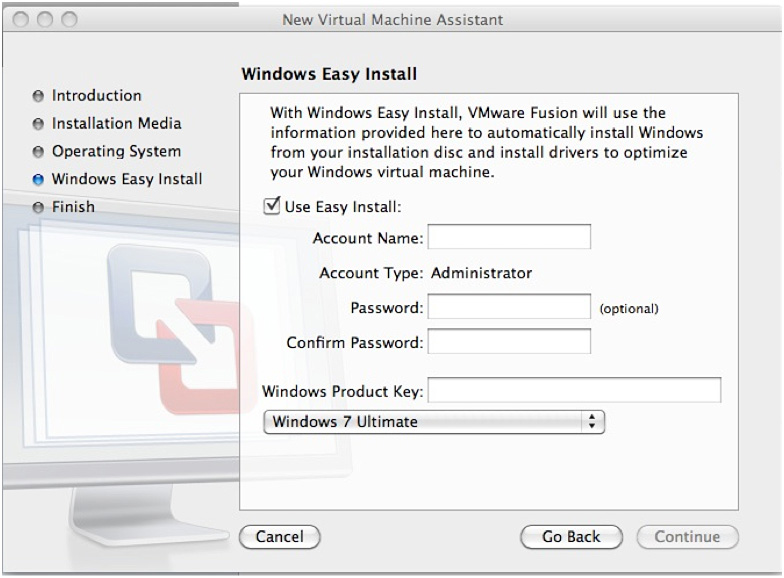
Step 5. In the next screen that comes up, choose "Windows Easy Install." This option will bypass the Windows setup screens that let you create a user account.
Step 6. Enter the username and password of the administrator account on this Windows virtual machine, as well as the Windows Product Key. You will also have to specify the Windows version that you will be installing, which can be Home, Professional or Ultimate.
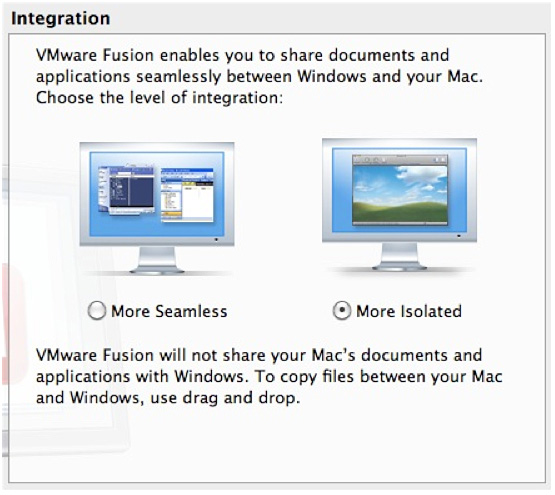
Step 7. Select "More Isolated." This option will let you create a shared folder between your Windows Virtual Machine and your Mac for copying files between the two operating systems.
Step 8. The next screen will let you configure the specifications and memory allowances for your Windows virtual machine. The "Customize Settings" button will let you specify the location where your virtual machine files will be saved.
Step 9. Start the installation process by pressing "Finish." During this process the Virtual Machine will restart several times. Once done, you will be brought to the Windows login screen. Enter the username and password you entered earlier. After logging in, VMware will install additional tools which are needed for it to work properly.
Step 10. Once the Windows Virtual Machine is completely set up, install and run Traffic Travis.